A Beginner’s Guide to Cycling Hand Signals
Group cycling is a fun way to exercise, explore new areas, and make friends. However, it can also be a dangerous endeavor if you’re unfamiliar with the most common cycling hand signals.
Before you head out on any group ride, we highly recommend familiarizing yourself with cycling hand signals. In this guide, we’ll review what they are, why they’re important, and the most popular ones you should know.
What are cycling hand signals?
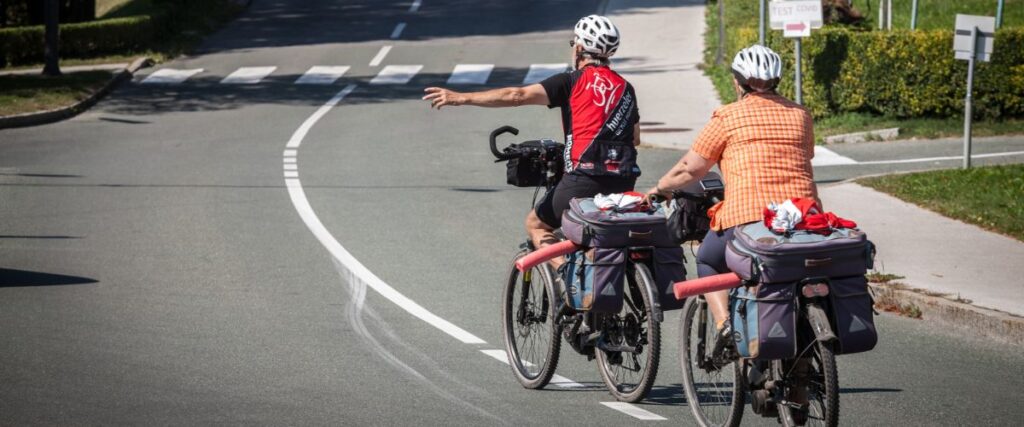
Cycling hand signals are visual warnings you make with your hands and arms to alert other cyclists and vehicles of your intentions, such as when you’re turning, slowing down, or changing lanes.1
In the United States, bicyclists are legally required to use signals when biking on the road, although only some do.
Why are they important?

Cycling hand signal laws are often not enforced in the U.S., but it’s still important to use them. They can help you stay safe while biking on the road by:
- Reducing your risk of being hit by a car: Ideally, by clearly signaling your intentions to motorists, you’ll give them plenty of time to react to your turns and lane changes, therefore helping you avoid accidents.
- Improving your communication with other cyclists: Similarly, hand signals can help you easily communicate with other cyclists on the road and prevent collisions or dangerous group rides.
Most popular cycling hand signals
Fortunately, using cycling hand signals isn’t complicated. Before you join a group ride or start commuting on your bike, here are a few basic hand signals you should know:2,3
Right turn

The most common way to signal a right turn is to extend your right arm straight out to your side. Some people may also extend their right arm out to their side and turn it up at a 90-degree angle. Either way works!
Left turn

Like the right turn signal, you can extend your left arm straight out to your side to signify that you intend to turn left.
Stop

Extend your left arm out to your side and bend it down at a 90-degree angle with your hand open to signify that you intend to stop.
Pass me

If you’re completing a group ride and want someone to pass you, extend your right arm out to your side and sweep it forward to indicate to the rider behind you that they can pass.
Road hazard or debris ahead

In a group ride, it’s helpful to warn cyclists behind you of any upcoming hazards on the road. That way, they’re not caught by surprise. To do so, stretch your arm down toward the ground and wave your finger or hand back and forth to tell other cyclists to look out for debris.
Shift to single-file cycling

Sometimes you have to shift from riding two-by-two to a single-file line when a road gets narrow, or the bike lane ends. In this case, you would lift an arm and raise one finger to indicate the need to form a single-file line.
Remember to signal about 100 feet before turning, slowing down, or stopping. Maintain the signal for about 30 seconds. This increases the likelihood that other cyclists and motorists will see your signals and have adequate time to react.
And when all else fails, don’t freak out. If your mind goes blank in the moment, just reach your arm out and point in the general direction you intend to go. Or hold a hand up if you plan to stop. In most cases, other cyclists and vehicles will understand what you’re communicating.
How to signal on a bike without falling

Those new to cycling hand signals might find it difficult to balance while signaling. This is entirely normal! To signal on your bike without falling off, follow these three simple tips:
- Make sure your bike fits correctly. If your seat isn’t high enough or your bike doesn’t fit well generally, you might find it more challenging to stay balanced when using your arms to signal. Take your ride into a bike shop to have it professionally fitted for the best results.
- Strengthen your core off your bike. When you lack core strength, it isn’t easy to maintain your balance on a bike without using both of your arms. Completing core exercises while off your bike will help strengthen your core and stabilize your entire body in the saddle.
- Practice! Use empty parking lots or quiet side streets to practice cycling hand signals. There’s a much lower risk of running into anyone or anything in these scenarios, which can boost your confidence once you get out on busier streets or start riding with a large group.
Key Takeaways:
Using cycling hand signals isn’t as complicated as it may seem and it will keep you safe while road biking. Take some time to practice in low-risk scenarios, or use Vingo to practice your hand signals indoors before heading out for a group ride.Photo Sources:
- JugendstilBikes, CC BY-SA 4.0, via Wikimedia Commons
- JugendstilBikes, CC BY-SA 4.0, via Wikimedia Commons
- JugendstilBikes, CC BY-SA 4.0, via Wikimedia Commons
- JugendstilBikes, CC BY-SA 4.0, via Wikimedia Commons
- JugendstilBikes, CC BY-SA 4.0, via Wikimedia Commons
- JugendstilBikes, CC BY-SA 4.0, via Wikimedia Commons
- JugendstilBikes, CC BY-SA 4.0, via Wikimedia Commons
Sources:
- Bicycle Safety | NHTSA. (n.d.). NHTSA. https://www.nhtsa.gov/road-safety/bicycle-safety
- Bicycle Safety and the New York State Helmet Law. (n.d.). nyassembly.gov. https://nyassembly.gov/member_files/108/20130916r/index.pdf
- Hand Signals for Biking. (n.d.). www.mass.gov. https://www.mass.gov/doc/bicycle-hand-signals-bookmark/download


