8 Ways to Improve Your Indoor Cycling Space
During the colder months of the year, many cyclists spend hours riding indoors. And if you’re regularly training indoors, it’s worth the time to re-evaluate your indoor cycling setup to make sure you have the best cycling experience possible every time you hop on the saddle. If you’re looking for ways to optimize your indoor cycling space, these tips can help you create the most comfortable environment possible.
1. Adjust the location.
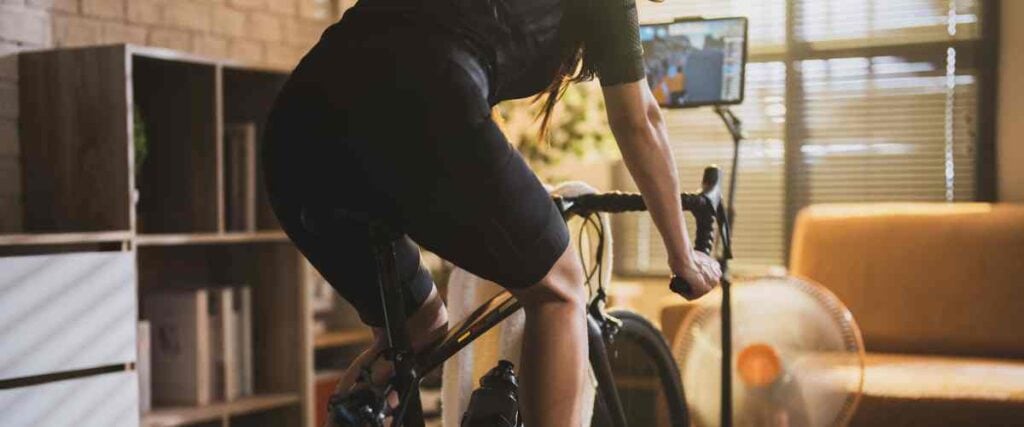
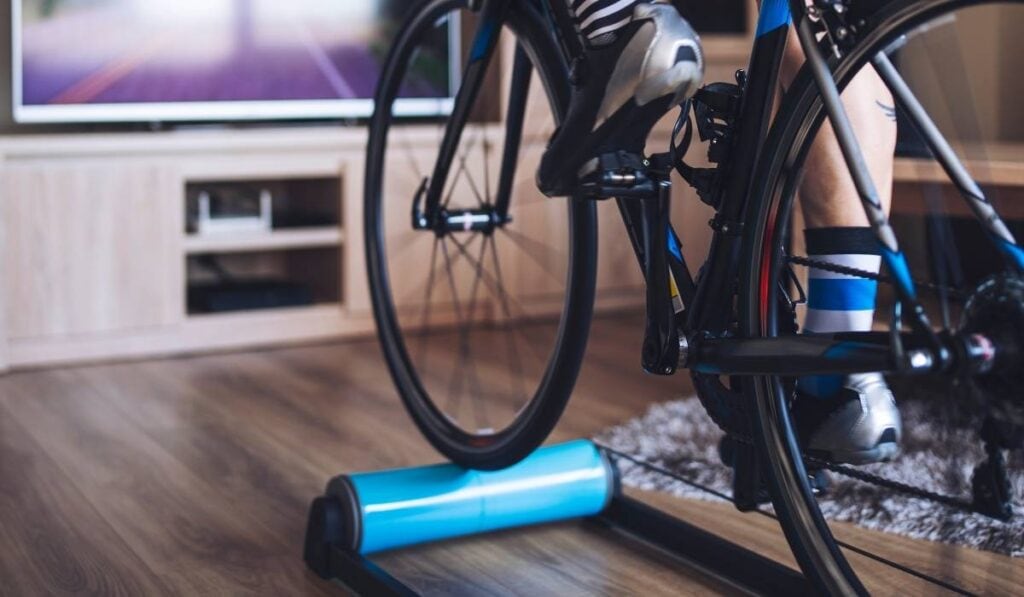
When it comes to your indoor cycling space, location matters. And if you cycle indoors regularly, you’ll want a comfortable location for your bike. Not to mention, if you live in a household with others, you’ll need to consider their needs and preferences too.
For instance, your garage might be the perfect place to set up your trainer. Alternatively, a basement or a spare room separate from the home’s main living areas may provide additional privacy and space for you to cycle. Otherwise, if you’re limited on space, you might want to set up your trainer right smack dab in the middle of your living room and tuck it away in the corner once you’re done cycling.
As you consider the best place to set up your indoor trainer, think about factors like:
- The available floor space: While you could technically set up your trainer in a closet, it might not provide the best airflow. A location with more floor space would be best. You’ll at least need a location that accommodates the size of your indoor trainer itself.
- Proximity to HVAC vents: Consider your cycling habits and how your HVAC vents might affect them. For instance, even if you do most of your indoor cycling during the winter, you likely won’t want to ride right on top of an HVAC vent that’s blowing hot air at you while you’re working up a sweat. However, those same vents might blow pleasantly cool air on you during the summer if you cycle indoors year-round, which you may prefer.
- Proximity to outlets: While you cycle indoors, you’ll need easy access to outlets or a power strip to plug in things like fans, TVs, laptops, or your smart trainer, if you’re using one.
- Noise: Indoor cycling can be very noisy, but it doesn’t have to irritate your family members or neighbors. Adjusting the location of your indoor trainer can make all the difference. For example, moving your trainer into a basement or garage can reduce the noise for family members, roommates, or apartment neighbors.
Ultimately, the best location will depend on your living space and personal preferences. There’s absolutely nothing wrong with adjusting the location of your indoor trainer to find the best setup for you, so don’t be afraid to test out all the options.
2. Add a fan or two to your indoor cycling space.
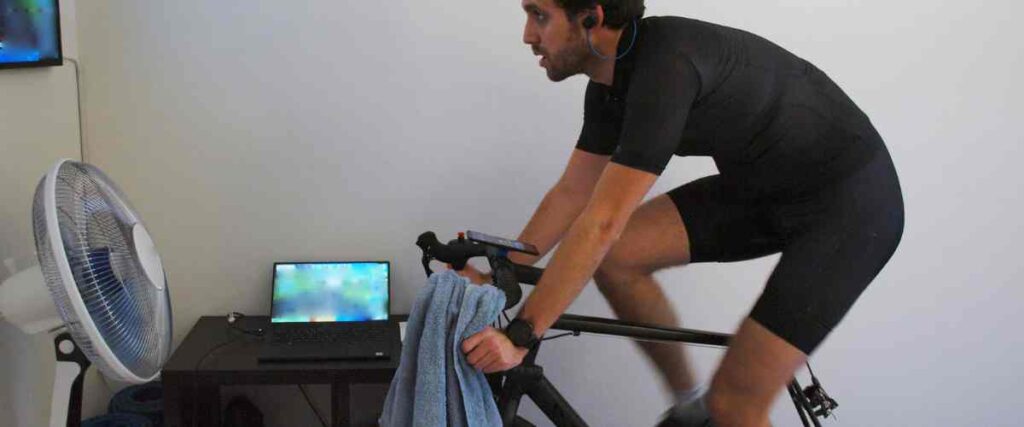
Often, an open window isn’t enough to keep you cool while cycling. If you get overheated while riding indoors, you probably need to add a fan or two to your indoor cycling setup. Even if the room already has a ceiling fan, it may not provide enough airflow to lower your body temperature. Adding another fan to the mix will help keep you from overheating while you ride, especially if you set it up to blow directly on your face and neck.
Need help choosing a fan for your indoor training space? Check out our guide on the best fans for indoor cycling.
3. Protect your bike and floor space from sweat.
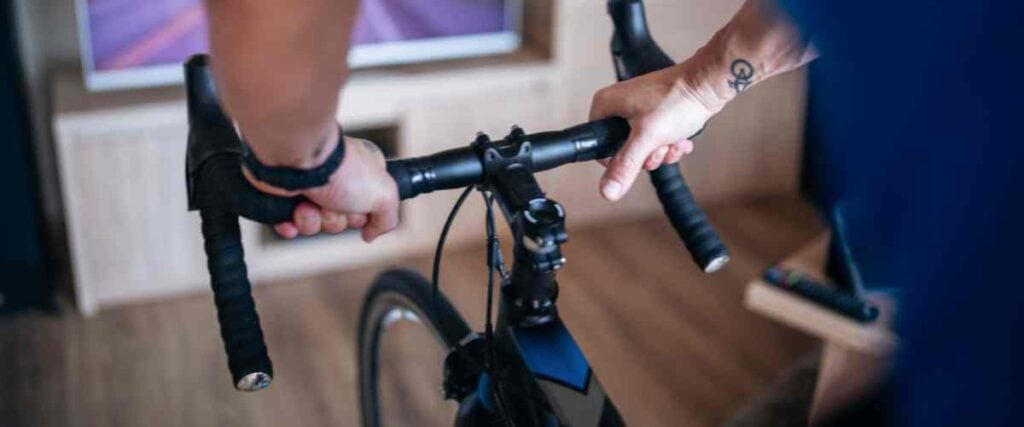
Sweat is highly corrosive and can build up on your bike trainer and floor if you’re not careful. A smart way to improve your indoor cycling space and prolong the life of your equipment is to protect your gear from all that sweat.
Keep your handlebars in good shape with bar tape and change them annually (or more often if you tend to sweat a lot while cycling). You can also purchase a sweat guard designed to cover the top parts of your bike and protect it from corrosive sweat. If you don’t have the budget for a sweat guard, you can also cover your top tube, headset, and handlebars with a towel. And don’t forget to wipe down your trainer after each ride.
Covering your bike each time you ride will do wonders to extend its lifespan, but don’t forget about the floor underneath it! Some indoor bike trainers come with a mat to place underneath it, but if yours didn’t, we recommend getting one. Whether you purchase a bike trainer mat or use a cheap yoga mat, an extra layer of protection beneath your bike will also help protect the floor and the bottom of your trainer.
4. Get a power meter.
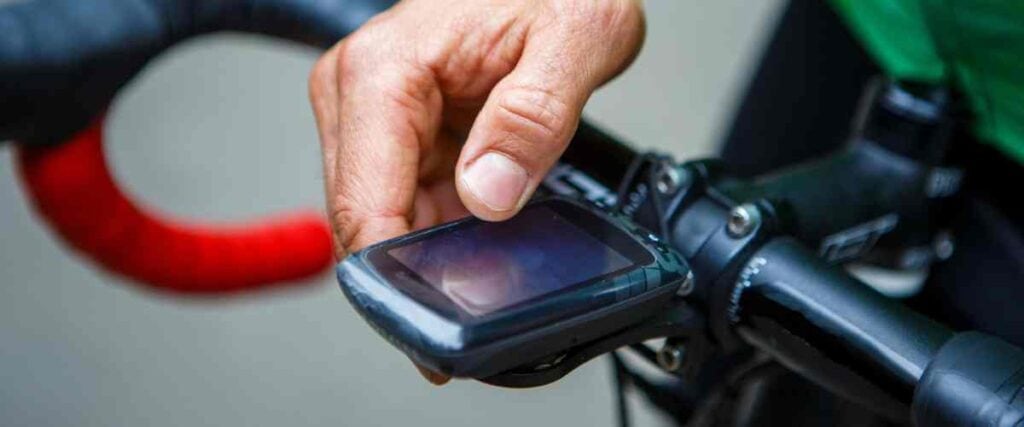
If you don’t have a smart trainer, your bike trainer won’t record your power unless you have a power meter fitted to it. One of the best ways to upgrade your indoor cycling setup is to get a power meter.
If you’re unfamiliar with how a power meter works, it measures how much work you’re doing (or resistance) and the rate at which you’re doing it (called cadence). Basically, the harder you work, the higher your watts. It’s a great tool to reach specific goals and accurately assess your improvement over time.
Some indoor cycling apps can use algorithms to estimate your power output, but they’re not always accurate. And if you want to ride specific training intervals, you’ll likely want a power meter instead. One of the quickest and easiest ways to equip your indoor trainer with a power meter is to attach power meter pedals to it. Other types of power meters can be attached to various parts of your bike, like the wheel hubs, bottom brackets, chain rings, and more.
(Not sure how to identify all the parts on your bike? Use this helpful bike parts glossary to get to know your bike better.)
Alternatively, you could invest in a smart bike or smart trainer, which come equipped with a built-in power meter. However, this is the most expensive option, and you can expect to spend anywhere from $200 to $1,000 or more.
5. Use wireless headphones.

Wireless headphones or earbuds are much more affordable these days and may help you train at all hours of the day (or night) without disturbing neighbors, housemates, or family members.
Instead of turning up the volume on your laptop or TV, use wireless headphones and enjoy your music, podcasts, or audiobooks at full volume without having to worry about disturbing others.
6. Invest in new apparel or shoes.

Another easy way to improve your indoor cycling setup is to upgrade your cycling apparel. While there’s nothing wrong with cycling in your gym shorts and a t-shirt, if you plan to ride competitively or you’re uncomfortable or overheating while you cycle, some changes are likely in order.
Specialized cycling clothes and shoes can make your riding experience more comfortable and enjoyable. Whether you pick up a pair of biking shoes, a new cycling jersey, or specialized cycling clothes that can hold ice packs to keep you cool while you bike indoors, new apparel may be a worthwhile upgrade.
7. Establish a convenient spot for all your gear.
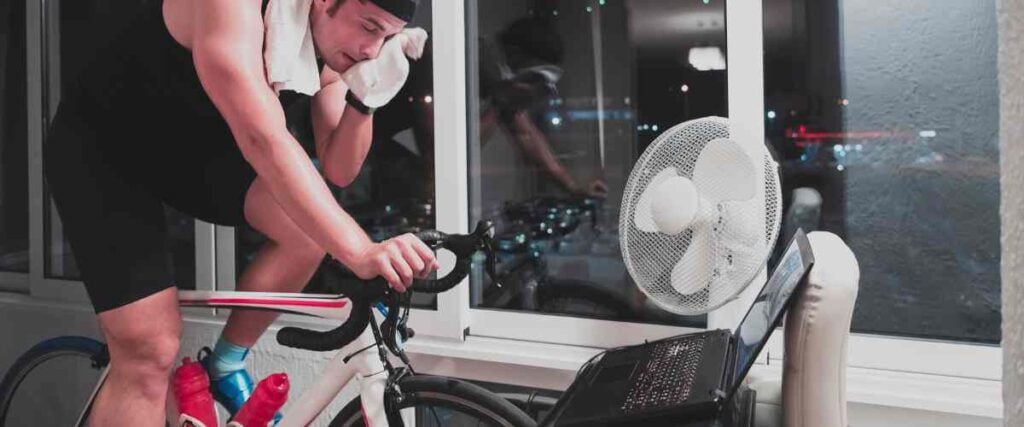
One of the advantages of cycling indoors is you don’t have to stash all your snacks, drinks, and gear on your person while you ride. Instead, you can set it all up on a table or bar stool next to your indoor bike. That way, you can easily reach and grab whatever you need without pausing your ride, including:
- Towels
- Snacks
- The remote
- Water bottles
- Any additional devices, like your smartphone
If you haven’t already done this, optimize your indoor cycling space by gathering all the gear you’ll need when you ride and setting it up right next to your trainer. All you need is an assortment of your favorite cycling snacks and drinks, a container to put them in, and a convenient spot near your bike. With nearby options, you’ll be ready to quickly grab a much-needed energy gel, drink, or towel whenever the need strikes.
8. Try Vingo
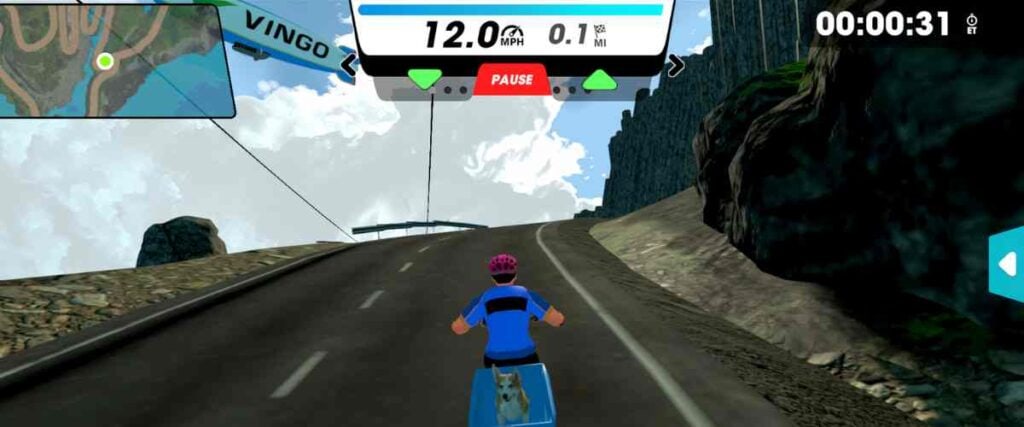
Instead of cycling mindlessly for hours just staring at a wall, add Vingo to the mix for a much more exciting indoor riding experience. Vingo lets you explore incredible locations worldwide while you cycle indoors. You can even customize your avatar and invite friends to ride with you virtually for a more personalized experience. Best of all, you don’t need a fancy indoor cycling setup to start. You can use Vingo with any bike, and it’s compatible with all Windows or Apple devices.


